PhotobucketPhotobucketPhotobucketPhotobucketPhotobucketPhotobucketPhotobucketPhotobucketPhotobucketPhotobucketShow all posts
Showing posts with label good cook kitchen expert. Show all posts

Sunday, December 15, 2013

Sweet Creations by Good Cook Cookie Exchange- Dairy and Gluten Free Chocolate Chip Cookies

I recently received an awesome package from Good Cook with items from their Sweet Creations line.  I love making "sweet creations" and this time our challenge was cookies!


In my super awesome package were cookie cutters(watch for those being featured soon), a cookie dropper(an awesome invention!), a brand new high temp spatula with wooden handle and handy conversion chart(ingenious), a handy dandy flex cookie turner(scratch free!), two aluminum cookie sheets(of the large variety), and a set of three sweet mixing bowls.  For this recipe I used the spatula, cookie scoop, cookie turner, and cookie sheets.


We love cookies in our house and the first cookies I had to make were for my husband.  He loves chocolate chip cookies but I honestly can't remember the last time I made them for him.  So I'm sharing our favorite chocolate chip cookie recipe which is also gluten and dairy free.  You can make it egg free by making a chia egg to replace the eggs as well, but since we're not egg allergic we don't do this.  I have friends with an egg allergic little boy so I always test it out to make sure it works before letting you know.  This one recipe gets the A.O.K. for adding the chia egg instead of an egg.

Here's what you'll need:

1/2 cup coconut oil
1/2 cup palm shortening
1 cup firmly packed coconut palm sugar
1/2 cup organic raw cane sugar
3/4 tsp sea salt
2 tsp pure vanilla(I make my own)
2 large eggs or 2 chia eggs
1 tsp baking soda
1/2 tsp baking powder
2-1/2 cup baking flour(gluten free of course) you can try this blend or this blend -they both work well
2 cups of your favorite allergy friendly chocolate chips

I use my kitchenaid to mix these up.  It makes a really good whip and it's needed to make these turn out right(trust me I've messed them up before).

First preheat your oven to 350 degrees Fahrenheit.

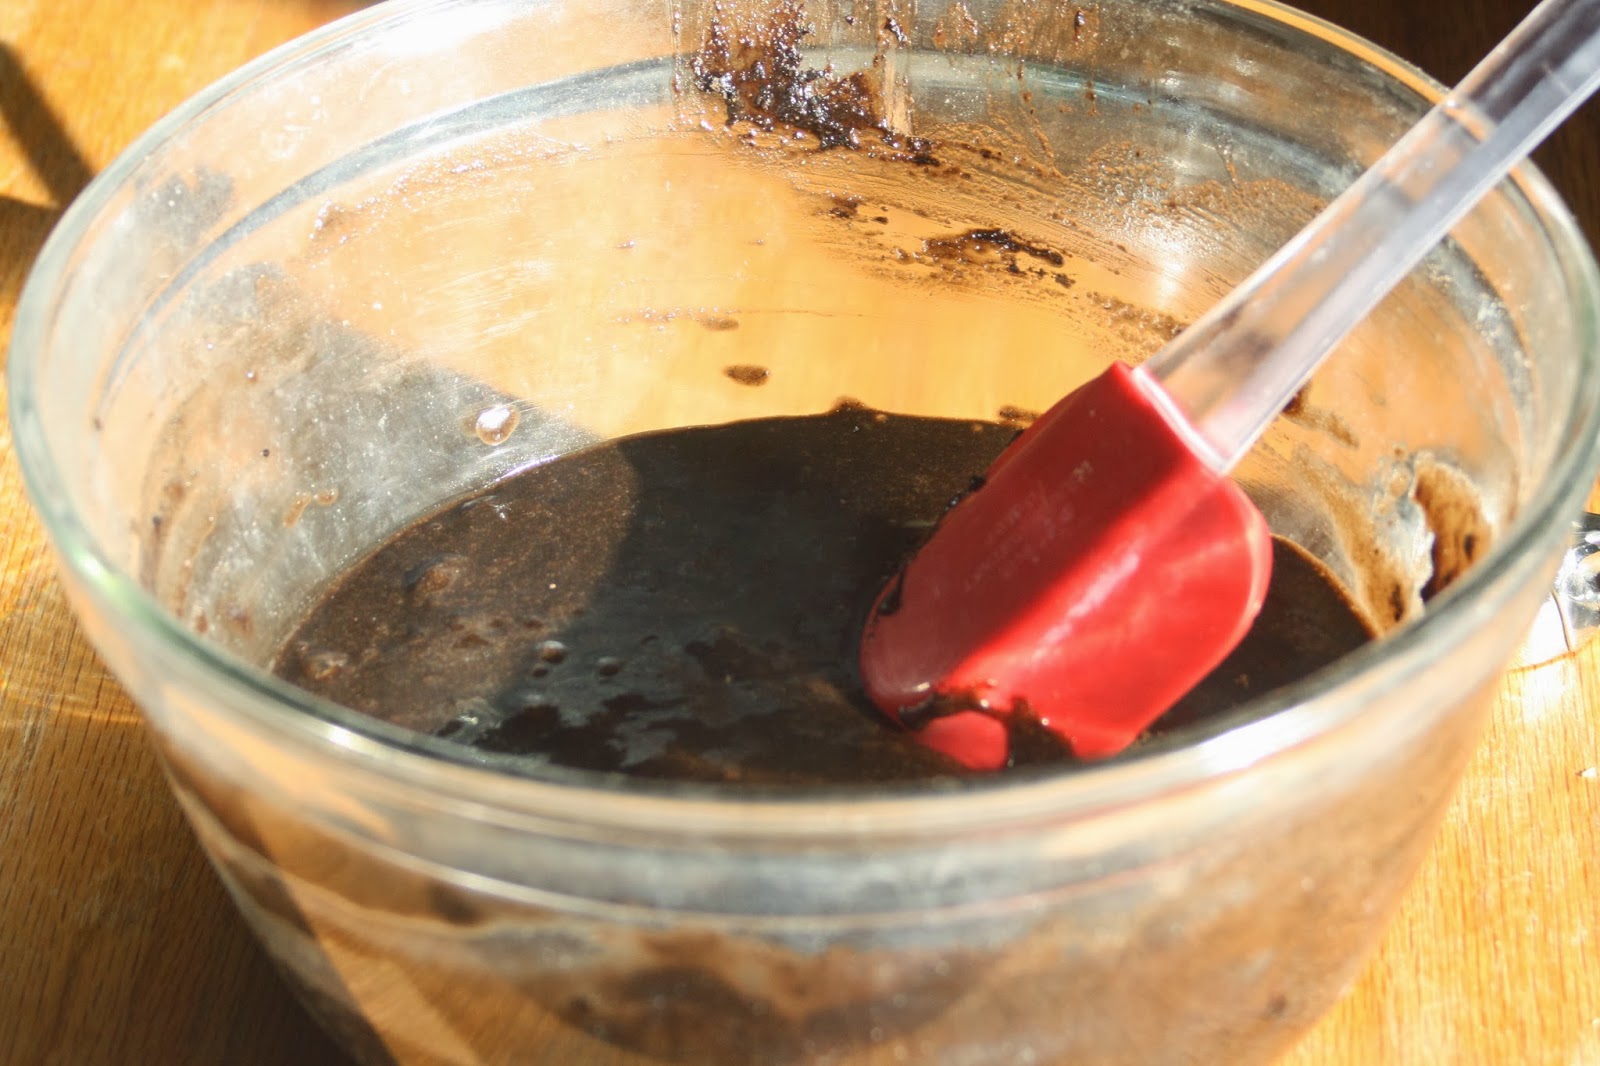
Now you are going to mix the shortening, coconut oil, and two sugars together.

Mix, mix, mix these.  I mean really mix them.  Make sure to mix them until they are light and fluffy to make these cookies work.

While these are mixing in a separate bowl mix up the dry ingredients so that it's ready to add to the cookies.

Mix in the vanilla.

Mix in the eggs.

Now mix in the flour and dry ingredients.


Using your cookie sheets and cookie scoop dish out the cookie dough.


Bake for 8-9 minutes.


I leave mine on the cookie sheets out of the oven for 1-2 minutes before placing on a cooling rack.


Once cool they're ready to enjoy.  My husband loves his with fresh cold milk.  I like mine with my coffee.


You can take 5% off your Good Cook Sweet Creations purchase using code "COOKIE"!  These are great products and I know you'll enjoy them so make sure to get yourself a little Christmas present with the code.  I personally am in love with my kit!

Here is a picture of the stock photo of what the winner of the giveaway will receive!  10 winners will each win a kit like the one pictured below.  Simply go to the Good Cook Facebook Page and vote for my cookies!


Pin It Now!

Monday, December 2, 2013

Crockpot Turkey Casserole -Thanksgiving Leftovers #goodcookkitchenexprt Recipe

Want something yummy that you can just throw together and forget about?  Well I have one for you!

This is great for using up those Thanksgiving leftovers.  You can use your turkey, your green beans, and serve over your leftover mashed potatoes!

For this recipe I use my Cream of Mushroom Soup recipe or if you want to use one that is dairy free please follow what I'm doing below.  You will want to check that out or if you don't need gluten free feel free to use two cans of the condensed cream of mushroom soup and one can of milk(my mom has used this recipe and that is what she did to get the same consistency).

You will need:

4 cups chopped turkey bits
1 lb green beans or whatever you have left to throw in there
8 oz mushrooms
one batch of my Cream of Mushroom Soup or this recipe which is dairy free: 2 cans coconut milk, 1 lb fresh mushrooms, and 1/3 cup cornstarch mixed well using a mixer(I used my Ninja).

Put the turkey and green beans with the mushrooms in the bottom of the crockpot and cover with the cream of mushroom soup.  Cook on low all day.

Chicken, asparagus, and mushrooms.
I LOVE asparagus!

I placed the turkey, green beans, and mushrooms in the crock first and then poured the cream of mushroom soup over them.

Ready to simmer all day long.


You can serve over rice or use up those leftover mashed potatoes.

The perfect supper served over rice.


Super yummy and good for you!  I hope you like it.  My kids LOVE it.  The last time we had this for supper most of the kids had 2-3 helpings and there was none left over when we were all through eating.  I of course, really just wanted to pick out all the green beans and eat it on my own!


Pin It Now!

Sunday, December 1, 2013

Thanksgiving Egg Casserole #goodcookkitchenexprt Recipe #100

I love to use everything.  You can see that by seeing my post on how to use those turkey bones to make a turkey stock broth.  That also goes for leftovers, so when Good Cook challenged us to show them an original recipe using some of our Thanksgiving leftovers and Good Cook products I was all for it!


This recipe will show you how to use some of your leftovers plus some Hanukkah leftovers and made a great filling dish for breakfast the next morning!

I have a large family and am totally in love with my new pan from them.  It's called a nonstick roast pan but can be used for anything at 15-1/2 by 11-1/2 inches.  It's perfect for my casseroles.  Only problem is I see myself needing another of them in a few years when the kids all get bigger!

Okay now to the recipe.

I made my turkey broth.

Then I made my Thanksgiving Soup.

Now I make my Thanksgiving Egg Casserole.  Here's how I do it!

Ingredients:
36 eggs, cracked and scrambled together
3 of the frozen muffin cups of the Thanksgiving Soup  -thawed
4 cups chopped turkey(ends and pieces work great!)
4 large russet potatoes shredded(I used the leftovers from latkes for Hanukkah)
1 package Daiya cheddar cheese(8 ounces)

Scramble all the eggs together in a bowl.

Add in the soup cups(these need to be thawed).

Pour in the pan.


Sprinkle the shredded potatoes on top.


Now top with the Daiya cheese.


Bake at 350 degrees for 1 hour or until done in the center. 


Serve warm.


All that is left!


Pin It Now!

Thanksgiving Soup #goodcookkitchenexprt Recipe #61


Now that you've made your Turkey Stock you can use it to make a nutritive soup to use up more of those Thanksgiving leftovers and have some delicious soup in the freezer for when anyone is sick and needs some comforting soup.

Ingredients:
Turkey stock broth(you can use however much of this you want, I used 14 cups)
2 lb coined carrots
1 lb millet
1 lb sweet corn
1 lb peas
chopped herbs for seasoning to taste(I used basil, oregano, thyme, and a bit of tarragon)
1 large turkey breast chopped into bite size pieces
1 large clove garlic minced

Put everything together in the stock pot and let it cook.  I let mine cook for at least 24 hours on a low setting.  Not simmer, but low.  It helps get all the flavors working well together and the millet to cook.  You can add rice instead of millet, but we like the difference in flavors that millet brings as we tend to use a lot of rice.

Serve with some soft fresh baked Italian bread for a great meal.  I like to garnish mine with a bit more basil and oregano from my window plants as well.

Now to add to this as part of the Good Cook challenge for Thanksgiving leftovers I was to use the tools they sent to make something.  Well other than the turkey pan to cook the turkey, so far I hadn't used any of their devices in this tried and true favorite.  So. . . . I decided to show you how I like to freeze the leftover soup in order to have some good soup for when just one or two of the kids are sick and I don't have the time to make a new big pot of soup.  

It's really simple!

You only need a muffin tin and a plastic bag or container.

Fill each section of the muffin tin with soup until it is at the brim.


Now you simply place the muffin tin in the freezer in the flash freeze area(if it's a refrigerator freezer it's normally the top section) until frozen.

Bring out of the freezer.


Release the "muffin" soups from the pan and either bag them or put them in a container and place back in the freezer for future use!


Yeap it's as easy as that!

You'll never go back to canned chicken and rice again.  Trust me.  This stuff is good!


Pin It Now!

Tuesday, November 19, 2013

Pumpkin Fudge #goodcookkitchenexprt


I love all things pumpkin and decided to make some pumpkin fudge with my neat new little toys from Good Cook.  I got a great new pumpkin tool.  It has a scoop to cut the pumpkin and get the goody out of the pumpkin.  Pretty neat handy little invention if you ask me!


Ingredients:
1 cup raw honey
3/4 cup coconut oil
2/3 cup coconut milk
1 cup pumpkin
1 tsp cinnamon
1/2 tsp ginger
1/4 tsp nutmeg
1/8 tsp cloves
1/8 tsp allspice
2 cups white chocolate chips
7 ounce jar of marshmallow creme


Optional:  Line your baking pan with foil or parchment paper.  If you're giving this as a gift you should so you can get it out of the pan!


In heavy saucepan combine the honey, coconut milk,  coconut oil, pumpkin, and spices.


Stir constantly on medium heat until it boils.


Stir constantly while boiling for 10 minutes.

Remove from heat and add marshmallow creme and chips.

Stir briskly until they are all melted and worked together.

Pour into prepared pan and refrigerate for 4-5 hours.  Serve chilled.


Come Join Me, Good Cook, TheFrugalMom and other Good Cook Kitchen Experts! 

The Ultimate Thanksgiving Twitter Party, Monday, November 25, 2013 at 6:00 pm to 7:00pm EST On Twitter with hashtag #Thanksgivingtips

Join in as we talk about everything Thanksgiving from turkey prep to decorating the table. Plus get a chance to win a special gift and one of three $200 Thanksgiving Baskets that will arrive in time for your dinner.

Be among the first 500 to RSVP by November 23, 2013 and receive a free set of Turkey Lifters 
Click here RSVP


Pin It Now!

Friday, November 15, 2013

DIY Cupcake Flowers! #goodcookkitchenexprt

Have you ever had an idea pop in your head and then wonder how to do it?  Well I had that experience recently when Good Cook challenged their bloggers to come up with unique recipes showcasing some of their Sweet Creations line.

My goodie package!  Love!
My package contained regular cupcake liners, mini cupcake liners, cake pop sticks, and a cookie scoop.  Rather a unique combination in and of itself.  Now my challenge was what to do with it!  I didn't just want cupcakes but obviously was going to have to have cupcakes.  And then it hit me!

My kids were making flowers out of construction paper one day in school for art and whallah BAM straight in my forehead. . .wait no that was the paper airplane. . . but I did get this idea to make flowers using cupcakes!

My first attempt I used tons of icing and decorating and they looked pretty but I decided to wait until morning for pictures because I wanted nice lighting(trying to learn to take better pictures), well I'm sorry to say those were ruined.  Did you know that heat melts icing?  Yeah I didn't think about that.

So attempt number 2 involved my kids!  I made regular cupcakes and mini cupcakes and then gave them the cake pop sticks snapped in half and said lets make flowers!

Make sure to check out my gift guide to see how to win this awesome cupcake carrier too!

So the base cupcake became the dirt or soil or flowerpot with the mini cupcakes up on sticks becoming the flowers!!  No icing was used because I'd already cleaned up one huge icing mess for the day so we put some dark chocolate allergen free chps and peanut butter chips on the mini cupcakes to make them a bit more "flowery".  Those do contain dairy so if you want these totally dairy free you need to find dairy free chips.

Step 1: preheat oven to 350 degrees.
Step 2: make the regular size cupcakes
Step 3: make the mini cupcakes
Step 4: make flowers!

Chocolate Cupcakes(for the flower pot part):
1/2 cup coconut flour
1/2 cup unsweetened dark cocoa powder(makes sure it's dairy and gluten free)
1/4 tsp Celtic sea salt
1/2 tsp baking soda
4 large eggs(I used one large egg, 2 pullet eggs, and a duck egg)
1/4 cup coconut oil
1/2 cup local raw honey

Mix all your dry ingredients together in one bowl.  Mix all the wet ingredients together in a separate bowl.  Pour the wet ingredients  into the dry ingredients and mix well.


Put the cute regular sized cupcake liners in the cupcake pan and place two cookie scoops of batter into each one(yeap gotta use that nice new cookie scoop).


Bake for 20 minutes and place on wire rack to cool.

Vanilla Cupcakes(for the flower part):
1/2 cup coconut flour
1/2 cup almond flour
1/4 tsp Celtic Sea salt
1 tsp baking soda
3 large eggs(I used 1 duck egg and 2 pullet eggs)
1/4 cup coconut oil
1/2 cup honey
optional:
1/4 cup dark chocolate allergen friendly chips
1/4 cup peanut butter chips

Mix all the dry ingredients together in a bowl.  Mix all the wet ingredients together in another bowl.  Pour the wet into the dry and mix well.

Place the mini baking cups into the mini cupcake pan.  Place one cookie scoop of batter into each liner.


Add some peanut butter and chocolate chips to the top of each.


Bake for 18 minutes or until done in the center.

Place on wire rack to cool


Now comes the fun part!  Take one large cupcake and three mini cupcakes as well as three half cake pop sticks.  You will need to put a small slit on the cupcake liner of the mini cupcake in order to get the cake pop stick through.  Now put the cakepop stick into the mini cupcake careful not to push too hard and put it through the top of the mini cupcake.  Place the other end down in the "dirt" of your regular cupcake.  Do this again with the other two mini cupcakes.

Tada!  You now have a pretty flower bouquet to enjoy!  Or eat.  . . .eating is good too!


Pin It Now!

Thursday, November 14, 2013

#GoodCookKitchenExprt It's Time For Thanksgiving! #thanksgivingtips


Come Join Me, Good Cook, TheFrugalMom and other Good Cook Kitchen Experts! 

The Ultimate Thanksgiving Twitter Party, Monday, November 25, 2013 at 6:00 pm to 7:00pm EST On Twitter with hashtag #Thanksgivingtips

Join in as we talk about everything Thanksgiving from turkey prep to decorating the table. Plus get a chance to win a special gift and one of three $200 Thanksgiving Baskets that will arrive in time for your dinner.

Be among the first 500 to RSVP by November 23, 2013 and receive a free set of Turkey Lifters 
Click here RSVP
Pin It Now!

Wednesday, September 11, 2013

Good Cook Bacon Press Review #goodcookkitchenexprt + Recipe!

So I love cast iron and we love eating bacon.  We recently got to try out the cast iron bacon press from Good Cook along with our cast iron grill pan.  It's in conjunction with the Stuffed Burger Post and recipe I posted a bit ago.  Make sure to check out that post and cast a vote for my burger!  You can vote 3 times per day.


My computer is in the shop so biscuit pictures can't be uploaded until it comes home, but I'm including my recipe for you tasting pleasure!!  I did already have some bacon press pictures so enjoy those!  Super yummy who doesn't love biscuits with cheese and bacon!

Cheesy Bacon Biscuits
Ingedients:
1 cup cheddar cheese(we use Daiya)
1 cup bacon pieces(cook your bacon and then chop up into bits)
6 eggs
1-1/2 cup almond flour(I use honeyville brand)
1/2 cup coconut flour
2 tsp baking powder
1/2 tsp Celtic sea salt
1/2 cup almond milk(or coconut milk)
3 Tb coconut oil(melted)


Preheat oven to 400 degrees.  You have a choice here.  I like to bake at 350 degrees and often do these at that temp but you have to watch them a bit closer to know when they're done as baking time is longer.

Line a baking sheet with parchment paper.

In a large mixing bowl mix together the dry ingredients.

In a smaller bowl mix together all the wet ingredients.

Slowly mix the wet ingredients into the dry ingredients.  Now add in the bacon and cheese.

Now you have a choice.  You can try to roll out the dough and use a biscuit cutter or you can mold this into biscuits.  I love to roll out my dough!  This is more difficult to roll out though so I just mold them if it's easier.  This should make between 18-20 biscuits.

Bake approximately 15 minutes.  Do watch them and take them out when browned.

These are really good!  Trust me on this or make your own!

I loved how crispy the bacon became with the bacon press. I really like crispy bacon but often don't have the time to make sure it gets cooked to perfection for me since I'm chasing kids and cooking pancakes and eggs as well normally!  That crispy bacon is perfect for these biscuits!  To me these are heavenly!  Paleo, GAPS friendly, gluten free, and dairy free.

Like what you're seeing of the bacon press?  Make sure to take advantage of their coupon code BaconLovers for 25% off Burger tools including the bacon press.


Pin It Now!

Friday, August 30, 2013

Summer Squash Stuffed Burger Recipe #goodcookkitchenexprt Review

I recently received an awesome kit from Good Cook with all the things necessary to create an awesome stuffed burger(well except for the food) to review and show you guys how creative I can be!  Okay so we know I'm not the most creative, but I do like to cook and we all love food!


So I decided to create a yummy little burger using things we had lying around from our non existent garden.  Okay so things that friends had given us from their overflowing gardens and a few things I had to buy.

Ingredients needed:
hamburger--I buy local ground beef.  It's around an 80/20 blend I believe
onion--diced
bell pepper--diced
summer squash-- grated
tomatoes---diced
cheese---mozzarella was used here (since we're dairy free Daiya mozzarella shredded cheese works too)
garlic---extremely finely minced

Items needed:
stuffed burger press (burger stuffer)
cutting board
chef's knife
cast iron grill pan
turner(my kids call mine the pancake turner)
grater

Okay here we go!


Assemble your ingredients and tools and do your prep work!  While you're prepping put your grill pan on the stove and heat it up!  Grate up that squash and cheese if needed.  Dice up the tomatoes, peppers, onions, and garlic!  Oh and make sure to notice my awesome cutting board, stuffed burger press(red thing in the background three piece set), and chef knife.  Totally in love with the knife. . . . . and yes it is very sharp.  Must be careful with that one!  Cutting board has the non stick on the bottom which is awesome!  First one I've had and it works wonderfully without scooting around on me.

Okay got everything ready?  Now you need to place a chunk of hamburger in the press and push down hard with the plunger.  Make a good sized dent in your meat so you can fill it in with all kinds of goodies!!!

In your dent you now place your stuffings.  I used different things in different ones depending on who was going to eat it.  Basically it's all about what you like.  Mine had a bit of everything!  So lets go with that one.  Place in a small handful of each ingredient(or less depending on how big the well is and how big you want your burger to be).  I used peppers, onions, garlic, tomatoes, summer squash, and a hint of cheese.

Now the fun part.  Once you put your stuffings in you have to seal it with the top.  So place another chunk of hamburger on top.  I liked to flatten mine out just a little to help make sure it covered all of my fillings.  Now press down on the burger with the flat part of the press.  This will help seal it all up.  A word to the wise, the tomatoes I used were very juice which tended to not let the meat seal together the way it should so you might want to dry out your fillings a little bit.

Alright, now you're ready to cook!  Place the burger on your preheated(you should have already done this) cast iron grill on your stovetop.  Make sure to let it cook evenly and don't do a lot of extra flipping.  That tends to make it start to fall apart and we don't want that!


Oooooh don't those look good!  Yum making me hungry all over again!  We had ours with a spinach salad.  Lots of veggie eating goes on in this house.  We had friends over for supper this night because I couldn't wait to show off my lovely new kitchen toys(come on I know I'm not the only one that loves new toys to play with in the kitchen).  She happens to be a photographer and had fun taking pictures while I slaved over making supper. . . .okay so I was having equal amounts of fun creating yummy stuffed burgers!  You caught me. . . .


Okay now let's talk about how you can get to try out this great stuffed burger kit for yourself.  Good Cook is sponsoring a contest among all of us bloggers that got to review the kit.  What you do is go to their site and vote on your favorite burgers.  Each time you vote you get entered to win one of 10 stuffed burger press kits.  You can vote up to 3 times per day.  Voting begins on September 3rd and ends September 17th.  


Can't wait to win one?  Good Cook is totally awesome and is offering 25% off if you use the code BurgerLovers talk about nice!!

Now I have to say please vote for my burger!!  Please please!  Winning blogger gets a prize too and I'd love more kitchen toys to share with you!


Pin It Now!